Hooray, you’re here! 🥳 We’re so glad you’ve chosen to build your WooCommerce membership site with Constellation, and we’re excited to help you get started.
Concepts
Before we talk about setting up Constellation, let’s go over key concepts that will shape your experience.
- Access to your protected membership perks is controlled by a plan. You can have as many plans as you want! Think of the plan as the collection of “access or perks you sell” or give to your customers.
- A membership plan has rules that control what members and non-members can see or do on your site.
- For example, a plan can have a rule that protects all of your blog posts — this means only members can view blog posts, and non-members or guests can’t read your blog.
- A plan can also have a rule that gives members a 10% discount on all home goods — non-members would pay your listed price!
- When a customer becomes a member, they gain a membership.
- A membership refers to a customer’s individual access to a plan — a membership has a start date, end date, and order it’s tied to (it could also have a subscription, if you use recurring billing).
- If you change a plan, all memberships for that plan will get the updated perks.
Configuration
The best way to get started is to use the onboarding wizard to help you adjust settings based on your business type, and create your first plan. Once you’ve used it, you can view the plan to push every button and turn every knob for maximum customization, or simply duplicate this plan as your new starting point.
If you want to manually configure everything, visit Constellation > Configuration > Settings to view the settings area.
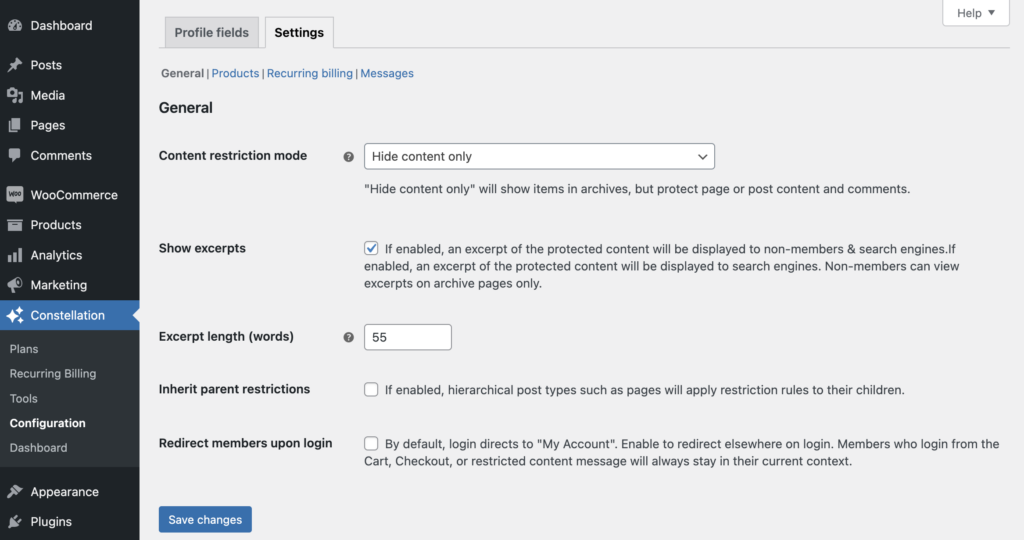
General settings
First, you’ll choose your content restriction mode, and some optional settings that might go along with it:
- Hide content only: Use this mode to create a content paywall — visitors will be able to load the page being requested, but instead of displaying the content or product, a message is displayed prompting them to sign up for the membership plan instead.
- You can optionally show excerpts of protected content, if you want to have a teaser for search engines & to entice visitors to sign up!
- If you show a teaser / excerpt, you can choose how many words are shown before cutting off the members-only content.
- Redirect to a page: This setting allows you to choose a specific page to send all users who land on a restricted product to. This can be a product, a page, or a post — it’s helpful if you have a dedicated landing page to describe the benefits of your membership.
- Hide content completely: When this mode is used, protected content cannot be visited — visitors will see a 404 – content not found error unless they are a member, logged into their account.
- This is used for hiding content from non-members (and search engines) completely, to give no sense of what’s behind your membership curtain 🔮
Next, choose how you’d like content protection to behave for child pages (or child custom post types), as well as what should happen when a member logs into the site.
Products
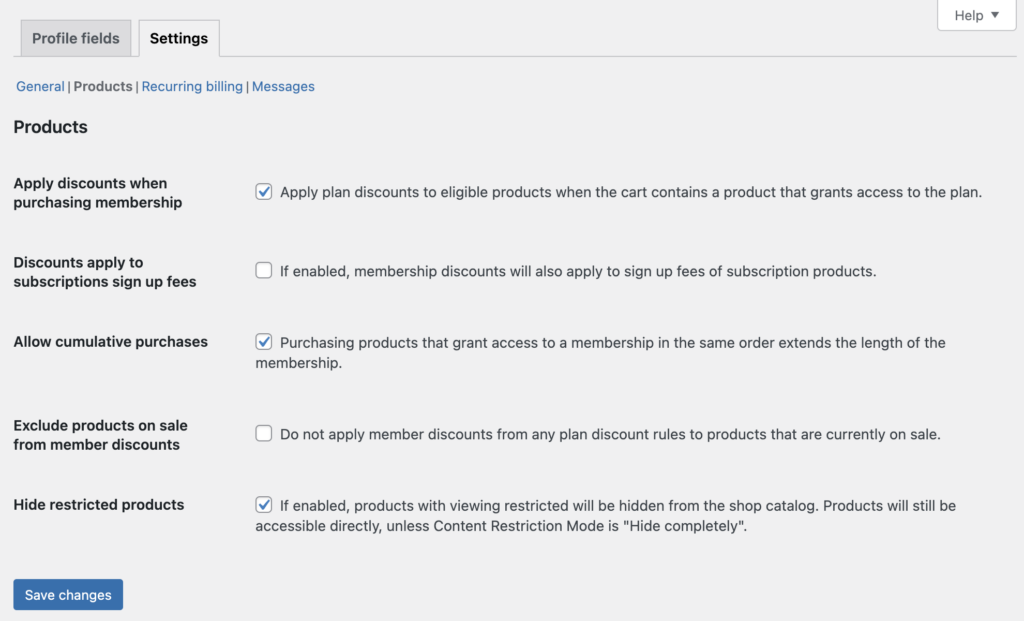
Under Products, choose how purchasing and product protection rules will behave. Worth note:
- Allow cumulative purchases: We recommend enabling this if you sell memberships for a one-time purchase, if they have a fixed length (e.g. “$99 for one year”) — this way, if the customer changes quantity to “2”, they will get 2 years of access.
- Exclude products on sale from member discounts: We recommend keeping this disabled — the plugin’s philosophy is that members receive a discount on top of the non-member, or “listed”, price. There are cases where a sale price would result in a lower discount than the advertised member discount.
- Of course, your margins are key! If you exclude sale products from discounts, we recommend disclosing it clearly on the signup or terms & conditions pages.
Recurring billing
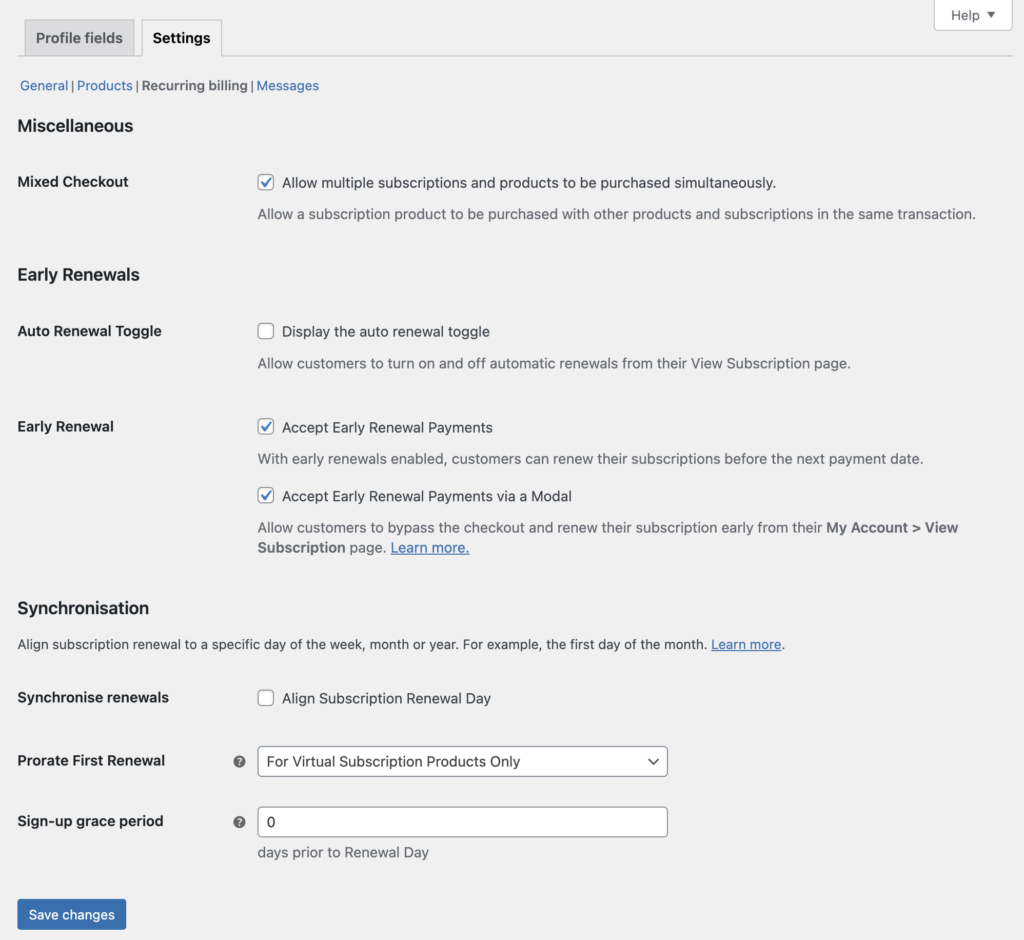
Under Recurring billing, you can customize behavior for subscription memberships. If you ever upgrade to WooCommerce Subscriptions to leverage more advanced recurring billing, these settings will map to the Subscriptions settings automatically.
Messages
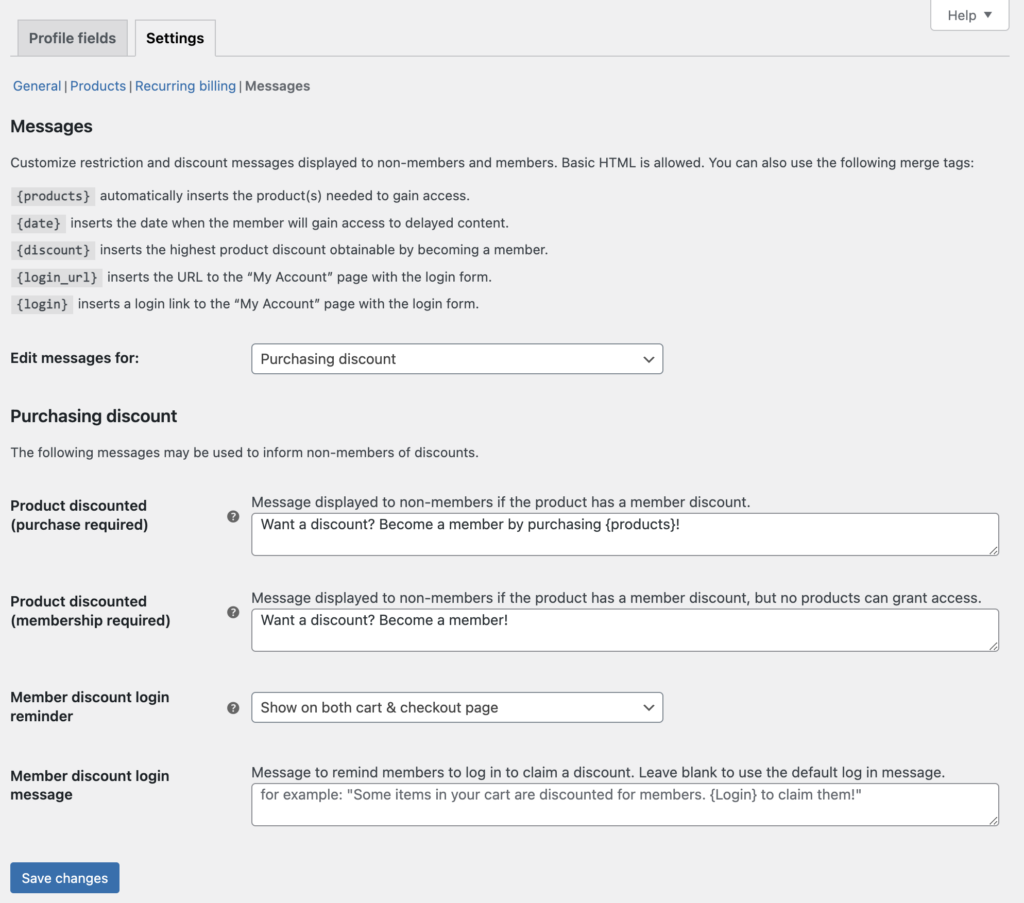
The Messages area lets you gain granular control over any messages shown to members or non-members on your storefront. You can use the defaults, or personalize them to make them your own to encourage non-members to sign up.
Use the “Edit messages for:” selector to change each group of messages. Adjusting these messages is not required! We recommend coming back to them when you have time to infuse your brand voice. 🙂