


Amazon S3 Storage supports Cloudflare R2 as a built-in provider: choose it in the settings, paste an R2 API token and your account’s endpoint, and automatic offloading and the S3 shortcode work the same way they do with Amazon S3. No code snippet is needed.
You need a Cloudflare account with R2 enabled and permission to create R2 API tokens.
When you’d use this
- You want to serve downloads from R2, for example to avoid egress fees on large files.
- You followed an older guide that used a code snippet or an
[amazon_s3_download]shortcode for R2. Remove the snippet and follow this page instead.
How to use it
1. Create a bucket
In the Cloudflare dashboard, go to R2 object storage and create a bucket. The plugin can’t create R2 buckets from WooCommerce, so create every bucket you want to use here first. Leave public access off: customers download through signed links.
2. Create an R2 API token
- On the R2 object storage overview, next to API Tokens, click Manage, then create a token.
- Under permissions, choose Admin Read & Write.
- Create the token, then copy the Access Key ID and Secret Access Key. Cloudflare shows the secret only once.
The plugin tests the connection by listing your buckets, and Cloudflare only lets Admin tokens list buckets. Tokens with Object Read & Write or Object Read only permission, even when limited to your bucket, can’t connect. If you only link existing files with shortcodes and never offload, Admin Read only is enough.
3. Copy your endpoint
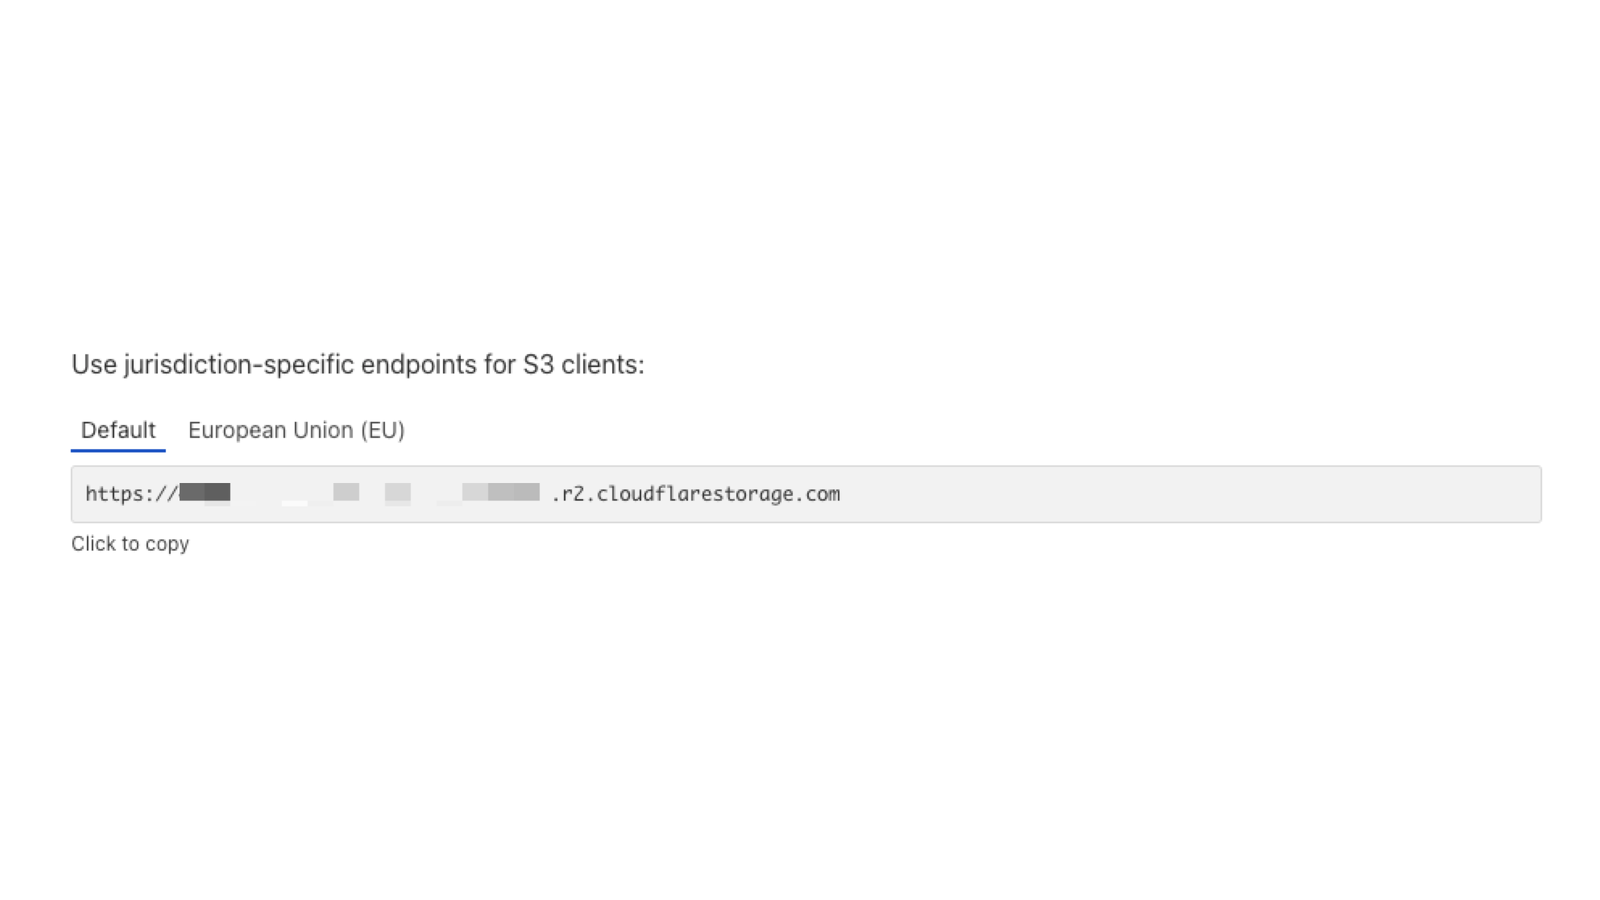
Your account’s S3 API endpoint looks like https://<account-id>.r2.cloudflarestorage.com. You’ll find the account ID on the R2 overview page, and the full S3 API URL in your bucket’s settings. Buckets in a jurisdiction, such as the EU, use the jurisdiction’s endpoint, for example https://<account-id>.eu.r2.cloudflarestorage.com.
If you paste the bucket’s own URL, which ends with the bucket name, the plugin keeps only the base address when you save.
4. Connect the plugin
- Go to WooCommerce » S3 storage.
- Set Cloud service provider to Cloudflare R2.
- Paste the Access key ID, Secret access key and Endpoint.
- Click Save changes. The page shows "Connected to Cloudflare R2." and the rest of the settings appear.
- Under Automatic offloading, tick Enable, choose your bucket under S3 bucket, and click Save changes again so the bucket choice is stored.
To keep the keys out of the database, set Credentials location to Manually add constants to your WordPress configuration file (unencrypted) and add these lines to wp-config.php:
define( 'CLOUDFLARE_R2_ACCESS_KEY_ID', 'your-access-key-id' );
define( 'CLOUDFLARE_R2_SECRET_ACCESS_KEY', 'your-secret-access-key' );
Then carry on with step 4 of Get started with Amazon S3 Storage to offload a product’s files and test a download.
How R2 differs from Amazon S3
- No regions. The Default region setting is hidden, and the plugin handles the region for you. You can leave S3 region at Default in the shortcode generator.
- No bucket creation from WooCommerce. The S3 bucket dropdown lists your existing R2 buckets only.
- No Transfer Acceleration. It’s an Amazon S3 feature, so the setting is hidden.
- Same shortcode. Link files you uploaded to R2 yourself with
[amazon_s3 object="file.zip" bucket="your-bucket"]. See Link files with the S3 shortcode.
Common issues
"these credentials do not have permission to list buckets"
The token isn’t an Admin token. Create a token with Admin Read & Write (or Admin Read only for shortcodes only), paste the new keys and save.
"A connection to Cloudflare R2 could not be initialized. Please check your credentials…"
Check that Endpoint holds your account’s S3 API address, and that the access key ID and secret come from the same token. Then save again.
Downloads are slow or show "File not found"
See Cloudflare R2 downloads are slow or show "File not found".
Turn on extra logging
Tick Debug mode in the settings first; the plugin then logs each upload and download under WooCommerce » Status » Logs. If you need the raw requests to Cloudflare as well, add this snippet for a short time and remove it afterward, because it logs a lot of data:
add_filter( 'woocommerce_amazon_s3_client_debug_mode', '__return_true' );