


Amazon S3 Storage serves your WooCommerce downloadable products from an Amazon S3 or Cloudflare R2 bucket instead of your web server. It uploads each product’s downloadable files to your bucket in the background, then sends customers who click a download link to a short-lived signed link for that file.
The plugin handles product downloadable files only. It doesn’t move your media library, product images or other uploads to the bucket, and it keeps the local copy of every file on your server as a fallback.
When you’d use this
- You sell large files, such as video courses, audio albums or software, and want to take the download traffic off your web server.
- Your host limits bandwidth or file sizes.
- You already keep your files in a bucket and want to link product downloads to them.
- You want download links that stop working after a set number of minutes.
Requirements
- WordPress 6.3 or later, WooCommerce 8.2 or later, and PHP 7.4 or later.
- Compatible with WooCommerce’s cart and checkout blocks and High-Performance Order Storage.
- An Amazon Web Services account with an S3 bucket, or a Cloudflare account with an R2 bucket. Backblaze B2, Wasabi and DigitalOcean Spaces work experimentally with a code snippet.
- The PHP OpenSSL extension, if you save your access keys in the settings. Without it, store the keys as constants in your
wp-config.phpfile instead. - Store administrators and shop managers can change the settings.
Install and activate
How you get updates depends on where you bought Amazon S3 Storage:
- Bought on kestrelwp.com: download the plugin from the Licensed downloads tab of your kestrelwp.com account and install it. Then go to Settings » Amazon S3 Storage for WooCommerce activation and activate the key from your License keys tab to receive updates. See using sites against your activation limit for how activations count.
- Bought on WooCommerce.com: install the plugin from your WooCommerce.com account. Updates come through your WooCommerce.com connection, with no license key to enter.
For upload, FTP and update steps, follow how to install and update WooCommerce extensions.
Set up Amazon S3 Storage
1. Prepare your bucket and access keys
Create a bucket and a set of access keys that can reach it. Follow the guide for your provider, then come back here:
- Set up Amazon S3 for your store (an IAM user, its permissions and a bucket)
- Connect Cloudflare R2 (an R2 API token, a bucket and the endpoint)
- Connect other S3-compatible providers (Backblaze B2, Wasabi and DigitalOcean Spaces, experimental)
2. Connect your provider
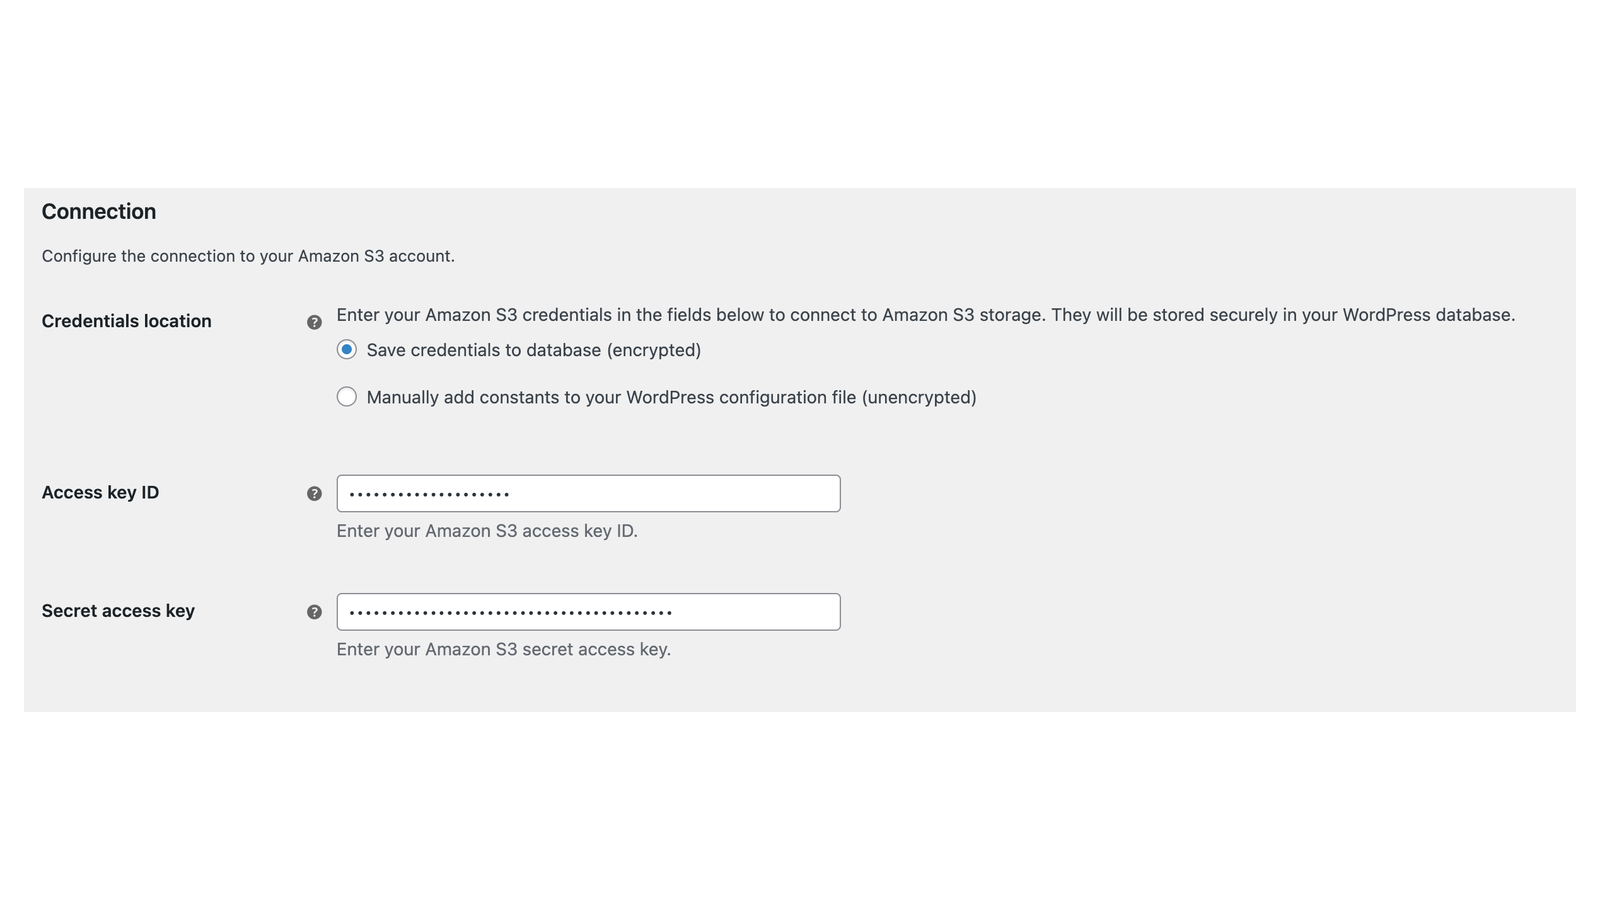
Go to WooCommerce » S3 storage, which opens the S3 storage tab under WooCommerce » Settings. In the Connection section:
- Choose your Cloud service provider: Amazon S3 or Cloudflare R2.
- Leave Credentials location at Save credentials to database (encrypted), or choose the constants option to keep the keys in
wp-config.php. - Paste your Access key ID and Secret access key.
- For Cloudflare R2, paste your account’s S3 API URL into Endpoint.
- Click Save changes.
When the keys work, the page shows "Connected to Amazon S3." (or Cloudflare R2), and the rest of the settings appear. If you see "A connection to Amazon S3 could not be initialized" instead, the message says why; Connection messages explains each version of it.
3. Choose a bucket and turn on automatic offloading
In the Automatic offloading section, tick Enable and choose your bucket under S3 bucket. With Amazon S3, you can pick Create a new bucket… instead, enter a name and a region, and the plugin creates it when you save. Click Save changes, even if the bucket you want already shows, so the choice is stored.
The other settings, such as how long download links stay valid, have sensible defaults. Each one is described in Amazon S3 Storage settings.
4. Add or update a downloadable product
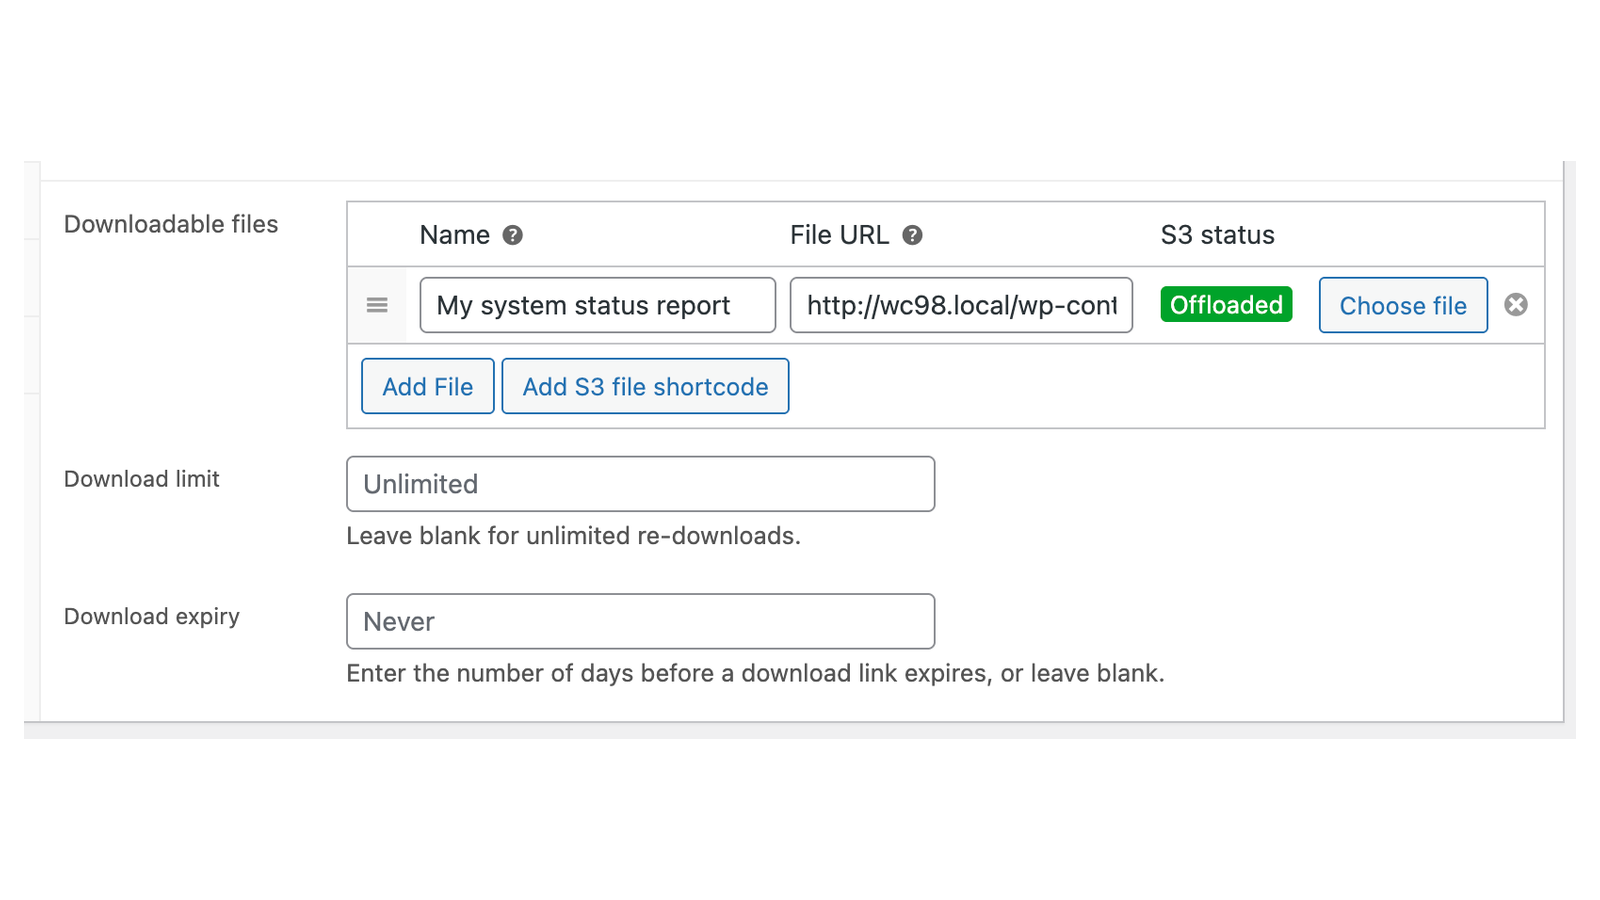
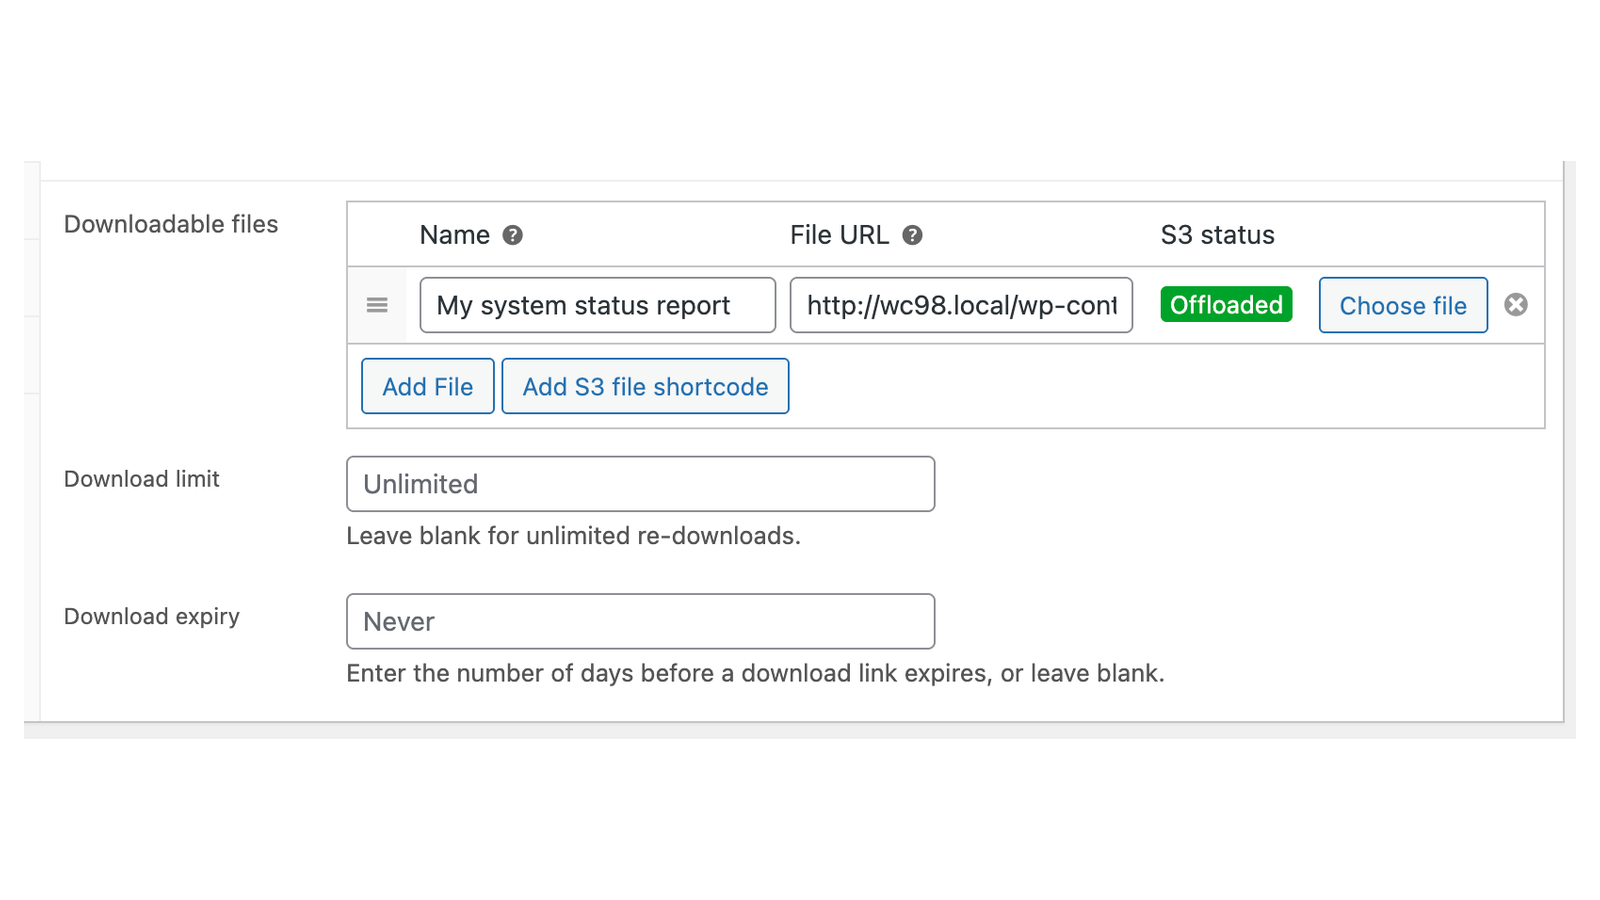
Edit a downloadable product (or a downloadable variation) and add its file under Downloadable files the usual way, with Add File and Choose file. Click Update or Publish.
The Downloadable files table now has an S3 status column. The file shows Queued when you save, then Offloaded once the upload finishes in the background. Reload the product page to see the status change.
Products you created before turning on offloading aren’t uploaded until you update each one in the product editor. The same goes for products added by a CSV import or another plugin.
5. Test a download
Place a test order for the product, or use an order that already includes it, and click the download link in the order confirmation or My account » Downloads. The file downloads from your bucket. If it opens in the browser instead, such as an audio file or a PDF, set Download behavior to Force download in the settings.
How automatic offloading works
When you save a product in the product editor, the plugin queues each new downloadable file from your media library for upload, and WooCommerce’s scheduled actions (Action Scheduler) upload it to your bucket in the background. Your local copy stays on the server. Each file shows one of these statuses in the S3 status column, and in the S3: field of the file’s details in the media library:
| Status | What it means |
|---|---|
| Queued | Waiting for the background upload. |
| Processing | Uploading now. |
| Offloaded | In your bucket. Downloads come from the bucket. With Amazon S3, the badge links to the file in the AWS console. |
| Failed | The upload didn’t work. Downloads use the local file. |
| Not found | The file was offloaded but is no longer in the bucket. Downloads use the local file. |
| Shortcode | The file URL is an S3 shortcode, so it’s never uploaded. |
| Disabled | Automatic offloading is off. |
| Disconnected | The plugin can’t reach your provider right now. |
| Unhandled or Unknown | The file isn’t in your media library (for example, an external URL), or it was added since the last save. |
Each file goes up in a single upload, which Amazon S3 limits to 5 GB. For a larger file, upload it to the bucket yourself and link it with the S3 shortcode.
Files already in a bucket don’t need offloading at all: the shortcode links a product download to any file in any of your buckets.
What customers see
Nothing changes for customers. Download links in the order confirmation, the order emails and My account » Downloads still point to your store, and WooCommerce still checks download limits, expiry and access before anything else happens. When a customer clicks a link, the plugin swaps in a signed link to the file in your bucket, and their browser downloads it from there.
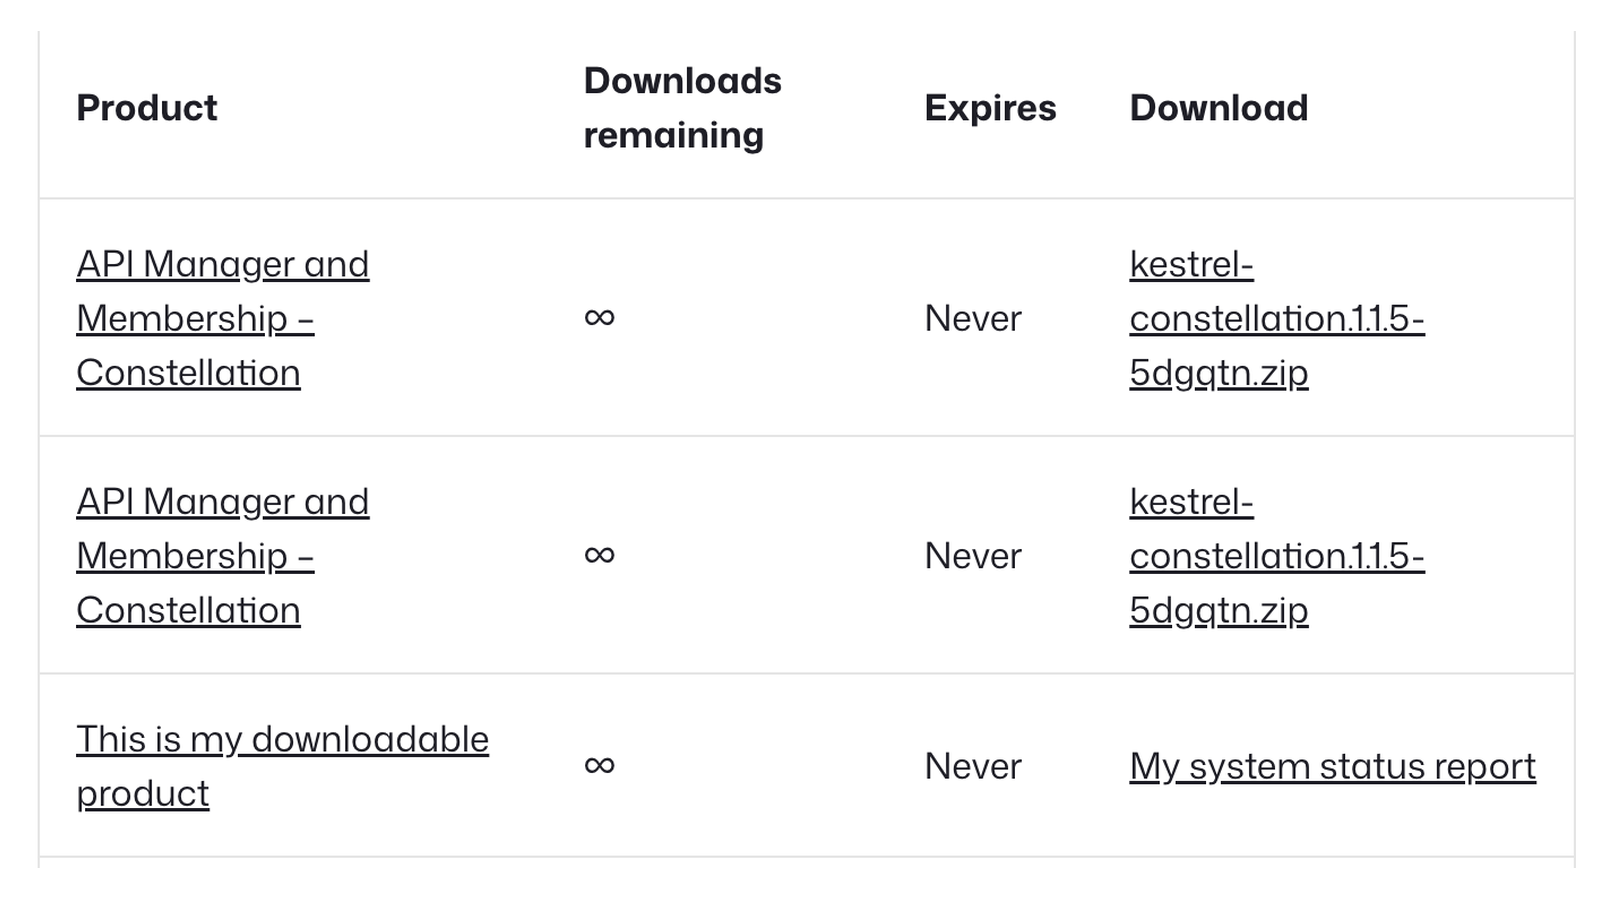
A signed link stays valid for the URL validity period (15 minutes by default) and is reused until it expires, so a copied link stops working after that. If your provider can’t be reached, or the file isn’t in the bucket, customers get the local copy from your server instead.
While your access keys are saved, the plugin turns off WooCommerce’s approved download directories for the whole store, and WooCommerce » Settings » Products » Approved download directories says so.
Common issues
The settings show only the Connection section
The plugin isn’t connected yet. Check the notice at the top of the page; Connection messages explains each one.
A file stays on Queued
The upload runs as a scheduled action. Go to WooCommerce » Status » Scheduled Actions, search for s3_storage_upload_file, and check that pending actions run. If none ever run, WordPress cron may be turned off on your site; ask your host to set up a server cron job.
A file shows Failed or Not found
Turn on Debug mode, then see Offloading in the troubleshooting guide for the causes and how to upload the file again.