


Clover for WooCommerce lets your store take card payments through your Clover merchant account. Customers enter their card in Clover’s secure payment form on your checkout, and you capture, refund and look up payments from the WooCommerce order screen. Customers can save a card for faster checkout, and the plugin works with WooCommerce Subscriptions and WooCommerce Pre-Orders.
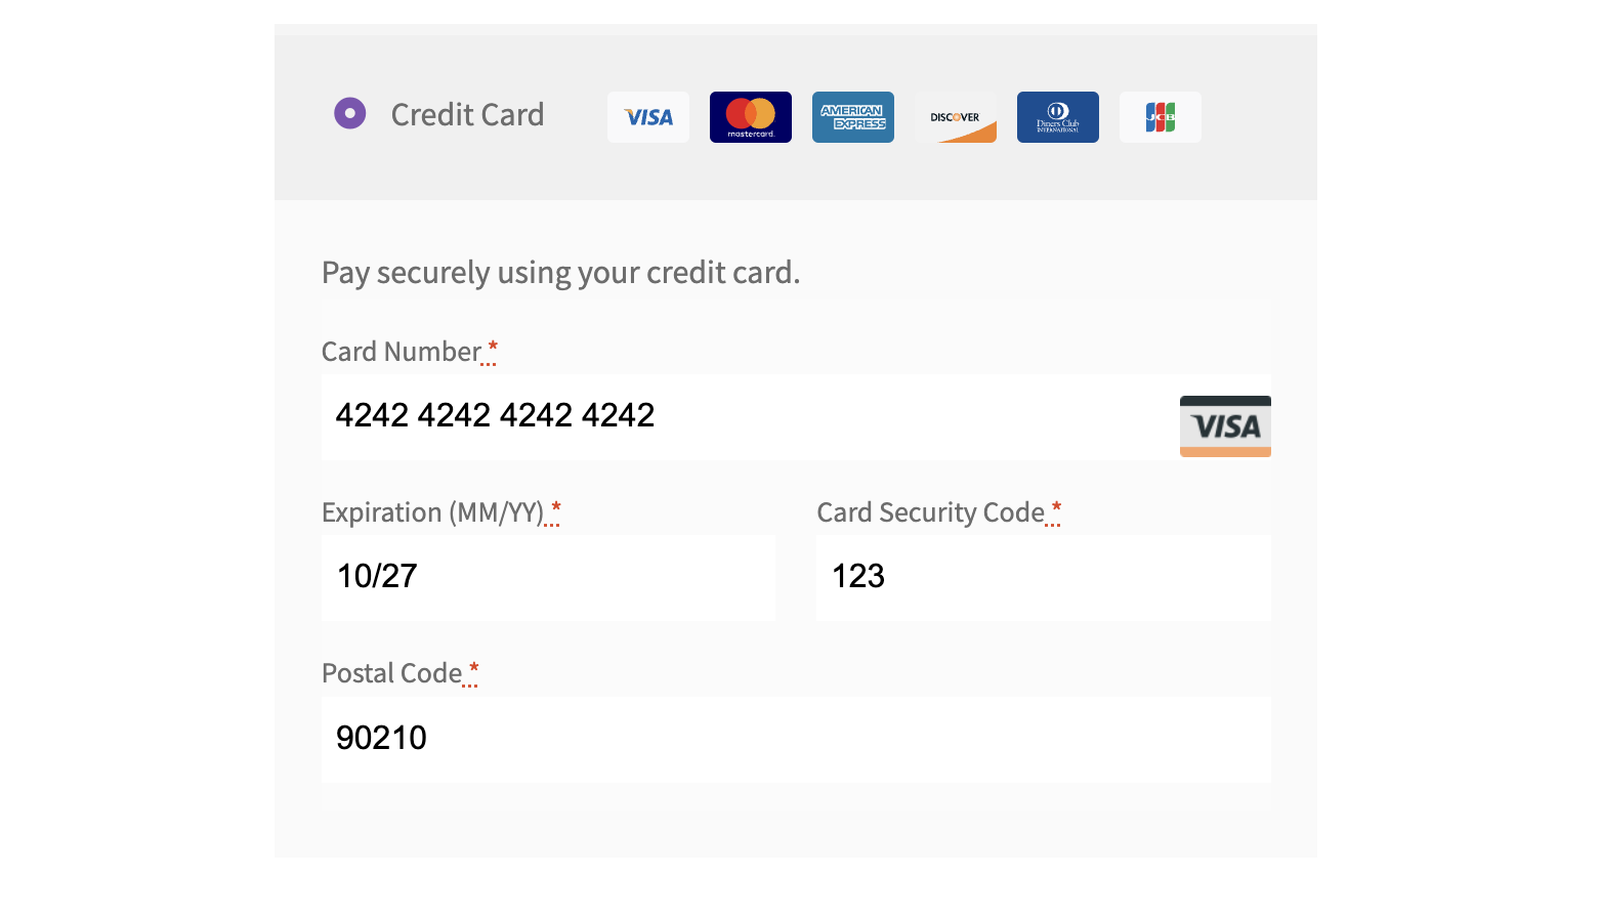
Clover for WooCommerce supports Clover merchant accounts in the U.S. and Canada. It takes payments only: it doesn’t sync products, inventory, customers or orders between Clover and WooCommerce, and it doesn’t send order line items to Clover.
When you’d use this
- Accept credit and debit cards on your WooCommerce checkout with your Clover account.
- Authorize payments at checkout and capture them when you ship.
- Let customers save a card for repeat purchases and subscription renewals.
- Move a store from the retired First Data Payeezy or Global Gateway connection to Clover. See Switch from First Data to Clover.
Requirements
- WordPress 6.3 or later, WooCommerce 6.0 or later, and PHP 7.4 or later.
- An SSL certificate, so your checkout loads over HTTPS, and a server that supports TLS 1.2.
- A Clover merchant account in the U.S. or Canada, with Ecommerce API tokens.
- Works with WooCommerce’s cart and checkout blocks and the classic checkout, and with High-Performance Order Storage.
- Optional: WooCommerce Subscriptions or WooCommerce Pre-Orders. Both need saved cards turned on (see Saved cards and subscriptions with Clover).
Install and activate
Clover for WooCommerce is sold on WooCommerce.com and on kestrelwp.com:
- Bought on WooCommerce.com: install the plugin from your WooCommerce.com account. Updates come through your WooCommerce.com connection.
- Bought on kestrelwp.com: install the plugin by following how to install and update WooCommerce extensions.
On a new install, the Clover gateway is active. If your store used the First Data Payeezy or Global Gateway connection before, follow Switch from First Data to Clover instead of the steps below.
Set up Clover
Every setting below is defined on Clover settings.
1. Create Ecommerce API tokens in Clover
- Log in to your Clover dashboard.
- Go to Account & Setup » Ecommerce API Tokens and click Create new token.
- Leave the integration type as Hosted iFrame + API/SDK and create the token.
- Keep the page open. You’ll copy the Public token and Private token from it.


Your Merchant ID is under Account & Setup » Merchants, below your business name.
2. Test in the Clover sandbox (recommended)
Clover runs a separate sandbox with its own merchant account and tokens, so you can place test orders without charging a card.
- In your WordPress admin, go to WooCommerce » Settings » Payments » Clover Credit Card.
- Turn on Enable / Disable.
- Set Environment to Sandbox, then enter your Sandbox Merchant ID, Sandbox Public Token and Sandbox Private Token.
- Click Save changes.
- Place an order on your store. The payment form shows "TEST MODE ENABLED" and two test card numbers:
4761530001111126is approved, and378282246310005is declined. On the checkout block, use security code123. - Check the order in WooCommerce » Orders. Its notes show the Clover transaction.
Use a real-looking email address for test orders. Clover rejects addresses on domains reserved for testing, such as .local.

3. Go live
- Set Environment to Production.
- Enter your live Merchant ID, Public Token and Private Token.
- Choose a Transaction Type: Charge takes the payment at checkout, and Authorization holds the amount for you to capture later (see Capture and refund Clover payments).
- To let customers save cards, turn on Tokenization.
- Click Save changes, then place a small live order with your own card and refund it from the order screen.
4. Set up fraud protection
Clover’s dashboard holds most of the fraud tools, including reCAPTCHA on the payment form and address and security code rules. Follow Protect your Clover checkout from card testing and fraud before you start taking orders.
What customers see
At checkout, customers choose the Clover payment method (titled "Credit Card" unless you change Title) and enter their card in Clover’s form: card number, expiration and security code, plus a postal code. If you turn on the AVS settings, the form also asks for the street address and the card holder’s name. The form is in English, or in Canadian French when your site language is French.
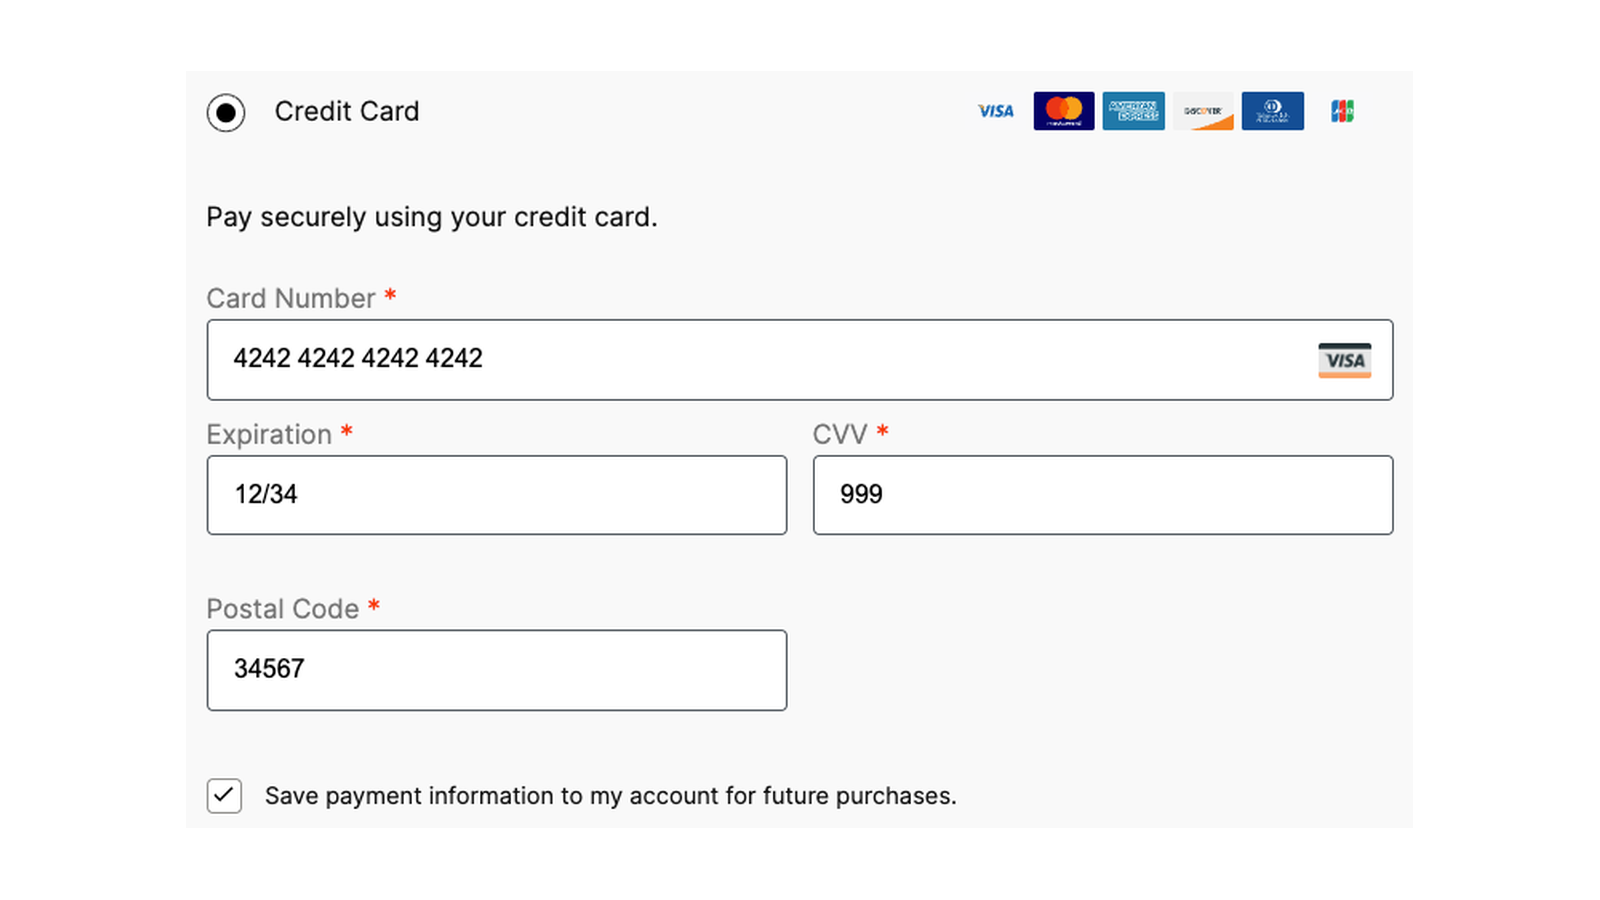
With Tokenization on, logged-in customers can select Securely Save to Account and pay with that card next time, and manage it under My account » Payment methods. Each customer can save one card. See Saved cards and subscriptions with Clover.
If you use Authorization, the order received page says "Your order has been received and is being reviewed. Thank you for your business."
Common issues
Clover doesn’t appear at checkout
Check that Enable / Disable is on and that the Merchant ID, Public Token and Private Token for the selected Environment are filled in. Until they are, the admin shows "Heads up! Clover Credit Card is not fully configured and cannot accept payments." Also check the Plugins list: if the plugin’s row shows a Use Clover link, a retired First Data gateway is active instead (see Switch from First Data to Clover).
Payments fail with "Authentication failed" or "Authorization failed"
The tokens or Merchant ID don’t match the selected Environment. Sandbox tokens only work with Sandbox, and live tokens only with Production. See Troubleshoot Clover for each message.
The admin warns that WooCommerce isn’t forced over SSL
"Clover by First Data: WooCommerce is not being forced over SSL; your customers’ payment data may be at risk." appears when your checkout doesn’t load over HTTPS. Install an SSL certificate and make sure your WordPress and site addresses under Settings » General start with https://.
Keep learning
- Clover settings (every setting on the gateway screen)
- Capture and refund Clover payments
- Saved cards and subscriptions with Clover
- Troubleshoot Clover
- How to install and update WooCommerce extensions