


This page takes a Lightspeed Retail R-Series store from a fresh connection to a working sync: choose the store whose stock WooCommerce uses, bring in your categories and products, and check that stock moves both ways. Install the plugin and turn on WooCommerce stock management first, as described in Get started with Lightspeed POS.
If your Lightspeed account says Retail POS (X-Series), follow Set up Lightspeed X-Series instead.
When you’d use this
- You’re connecting an R-Series account for the first time.
- You’ve reconnected after a disconnect, or you’re starting the import over.
Before you begin
- Log in to Lightspeed as an employee with inventory privileges. That login authorizes the connection.
- Give your Lightspeed items unique SKUs. The plugin links products by SKU, using the field set in SKU strategy.
- If you want sale prices online, create a price level named exactly
Salein Lightspeed (see Sale prices). - On a large catalog, back up your WordPress database before the first import.
Set up the sync
1. Connect to Lightspeed R-Series
Go to Lightspeed » Connection, choose R-Series under Retail POS series, and click Connect to Lightspeed R-Series. Log in to Lightspeed and authorize the application. Back on the Connection screen, the status shows Connected, and the Settings and Product Importer screens appear under Lightspeed.
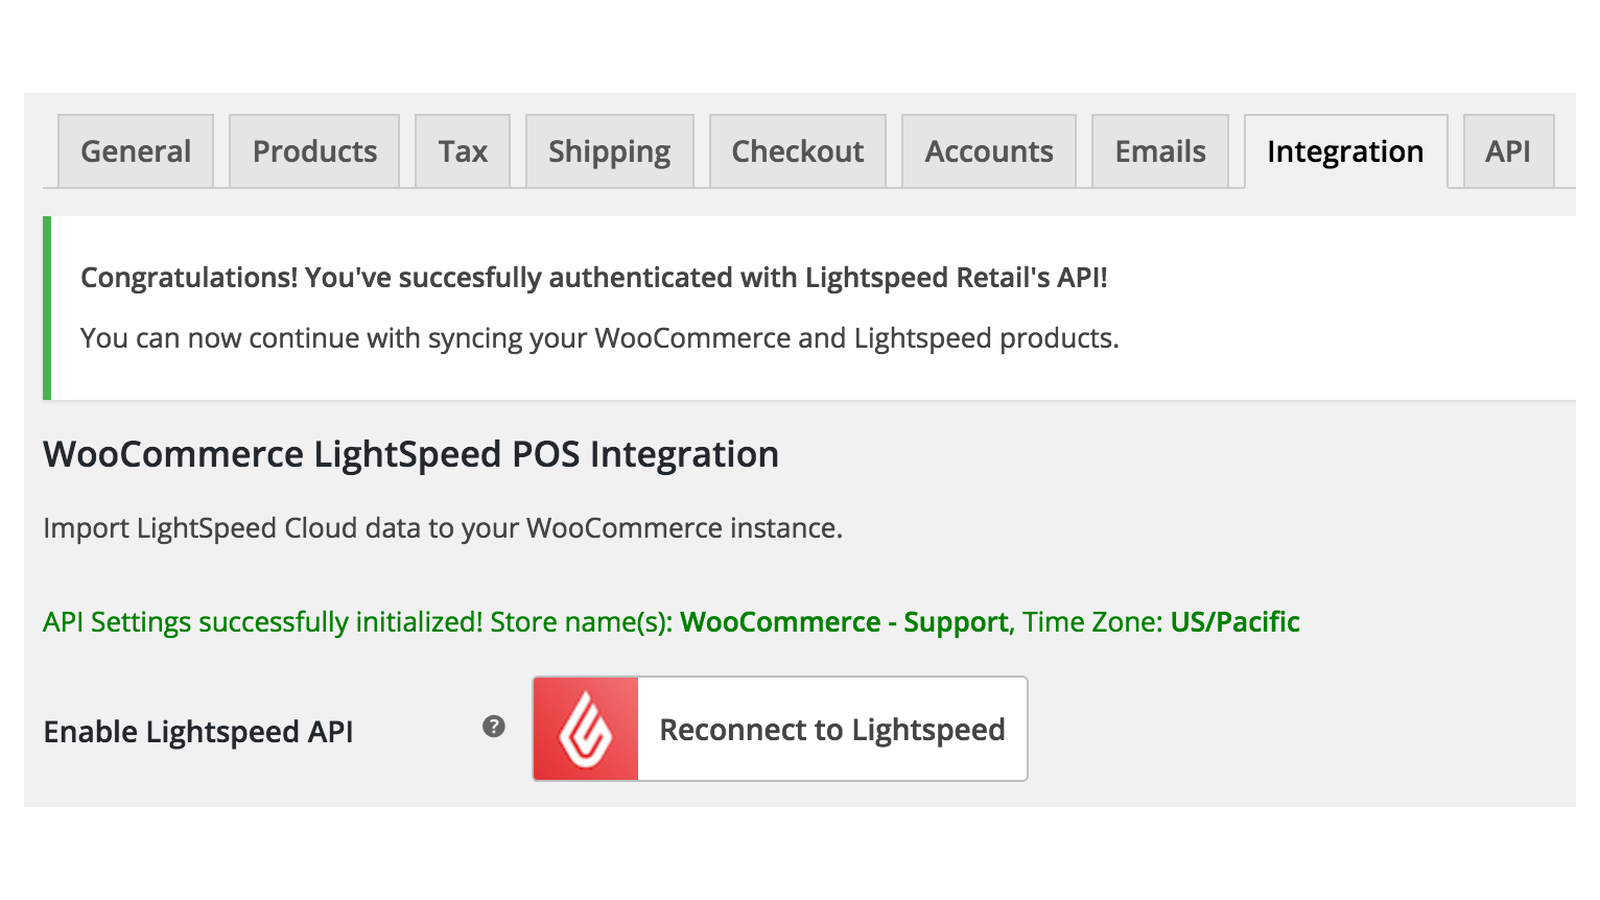
2. Choose your primary inventory store
Go to Lightspeed » Settings. If your Lightspeed account has more than one store, the Store settings tab shows Primary Lightspeed inventory store: choose the store whose stock WooCommerce should use, and click Save changes. WooCommerce has one stock level per product, so only this store’s inventory syncs. With a single store, the plugin picks it for you.
3. Review the product settings
Open the WooCommerce products sync tab and decide:
- Product status on import: Draft (default) keeps imported products hidden until you publish them; Publish puts them live straight away.
- SKU strategy: which Lightspeed SKU becomes the WooCommerce SKU.
- Selective sync for WooCommerce products: which details Lightspeed keeps updating after the first import. Leave Stock Quantity ticked.
Every setting is described in Lightspeed R-Series settings.
4. Import your categories
To use your Lightspeed categories in WooCommerce, open the Product categories tab and click Import categories before you import products. Products only get categories that were imported first. Category import is a one-time action; new Lightspeed categories need another import later.
5. Load and import your products
Go to Lightspeed » Product Importer. Products come into WooCommerce in two stages: first you load them from Lightspeed into the importer’s table, then you import the ones you want.
- Click Load products from Lightspeed to load your whole catalog, or Search Lightspeed to find and load specific items. Keep the tab open while a full load runs.
- Select products in the table, choose Import & Link with Woo from Bulk actions, and click Apply. Each product is created in WooCommerce with the status from Product status on import, and linked so Lightspeed keeps it up to date.

To import everything you loaded in one go, use Import and link all the products in the importer under Bulk import & link on the Store settings tab. More about the importer is on Import and manage Lightspeed R-Series products.
6. Check the background jobs
Open the Background jobs tab. Lightspeed product changes, New Lightspeed products and Lightspeed product attribute sets are on by default, each running every minute. Choose what happens to new Lightspeed products under New Lightspeed products should be:; the default loads them into the Product Importer for you to import. Raise the intervals on a large catalog or a busy server.
7. Check the sync with one product
- Open an imported product in WooCommerce. The Lightspeed Settings box shows Link with Lightspeed? ticked and a Last sync date.
- Change the item’s stock in Lightspeed. Within the Lightspeed product changes interval, the new stock appears in WooCommerce. To check straight away, click Manual update via Lightspeed on the product.
- Place a test order for the product. When WooCommerce reduces its stock, the new stock goes to Lightspeed.
8. Turn on sales sync (optional)
To record WooCommerce orders as sales in Lightspeed, follow Sync sales to Lightspeed R-Series. It’s off until you turn it on.
Go-live checklist
- Lightspeed » Connection shows Connected.
- The right Primary Lightspeed inventory store is chosen, if you have several stores.
- Your products are imported and linked, and a spot check of stock matches Lightspeed.
- Enable stock management is on under WooCommerce » Settings » Products » Inventory.
- The background jobs are on, and Tools » Scheduled Actions filtered to the
wclsigroup shows them pending or complete, not failed. - Only one site syncs with your Lightspeed account. Disconnect staging copies, or turn off their background jobs.
- If you bought on kestrelwp.com, your license key is active under Settings » Lightspeed POS for WooCommerce activation.
Reconnect or disconnect
If Lightspeed stops accepting the connection, go to Lightspeed » Connection and click Reconnect to Lightspeed R-Series. Disconnect removes the connection; your imported products and the importer table stay. After connecting again, check Primary Lightspeed inventory store on the Store settings tab before syncing resumes.
Common issues
"Could not find a primary Lightspeed inventory shop ID."
Go to Lightspeed » Settings » Store settings, choose a Primary Lightspeed inventory store and save.
The importer says "Please enable your connection to Lightspeed! Connect to Lightspeed to start the syncing process."
The connection is missing or was removed. Connect again from Lightspeed » Connection.
Imported products have no category
Import categories on the Product categories tab, then click Update via Lightspeed on the products in the importer.
Imported products aren’t visible on the store
Product status on import is Draft (default). Publish the products, or change the setting before importing more.